Load streaming data from AutoMQ
AutoMQ is a cloud-native version of Kafka redesigned for cloud environments. AutoMQ is open source and fully compatible with the Kafka protocol, fully leveraging cloud benefits. Compared to self-managed Apache Kafka, AutoMQ, with its cloud-native architecture, offers features like capacity auto-scaling, self-balancing of network traffic, moving partition in seconds. These features contribute to a significantly lower Total Cost of Ownership (TCO) for users.
This article will guide you on how to load data from AutoMQ into Timeplus using the Timeplus Console. Since AutoMQ is 100% compatible with the Apache Kafka protocol, you can also create an external stream to analyze data in AutoMQ without moving it.
To prepare your AutoMQ environment and test data, follow the AutoMQ Quick Start guide to deploy your AutoMQ Kafka cluster.
For self-hosting deployments, you can install AutoMQ and Timeplus Enterprise on Linux or Mac with the following commands:
curl https://download.automq.com/community_edition/standalone_deployment/install_run.sh | bash
curl https://install.timeplus.com | sh
For SaaS deployments, please ensure that Timeplus can directly connect to your AutoMQ server. You can use tools like ngrok to securely expose your local AutoMQ Kafka proxy on the internet, allowing Timeplus to connect to it. For more details, see the blog.
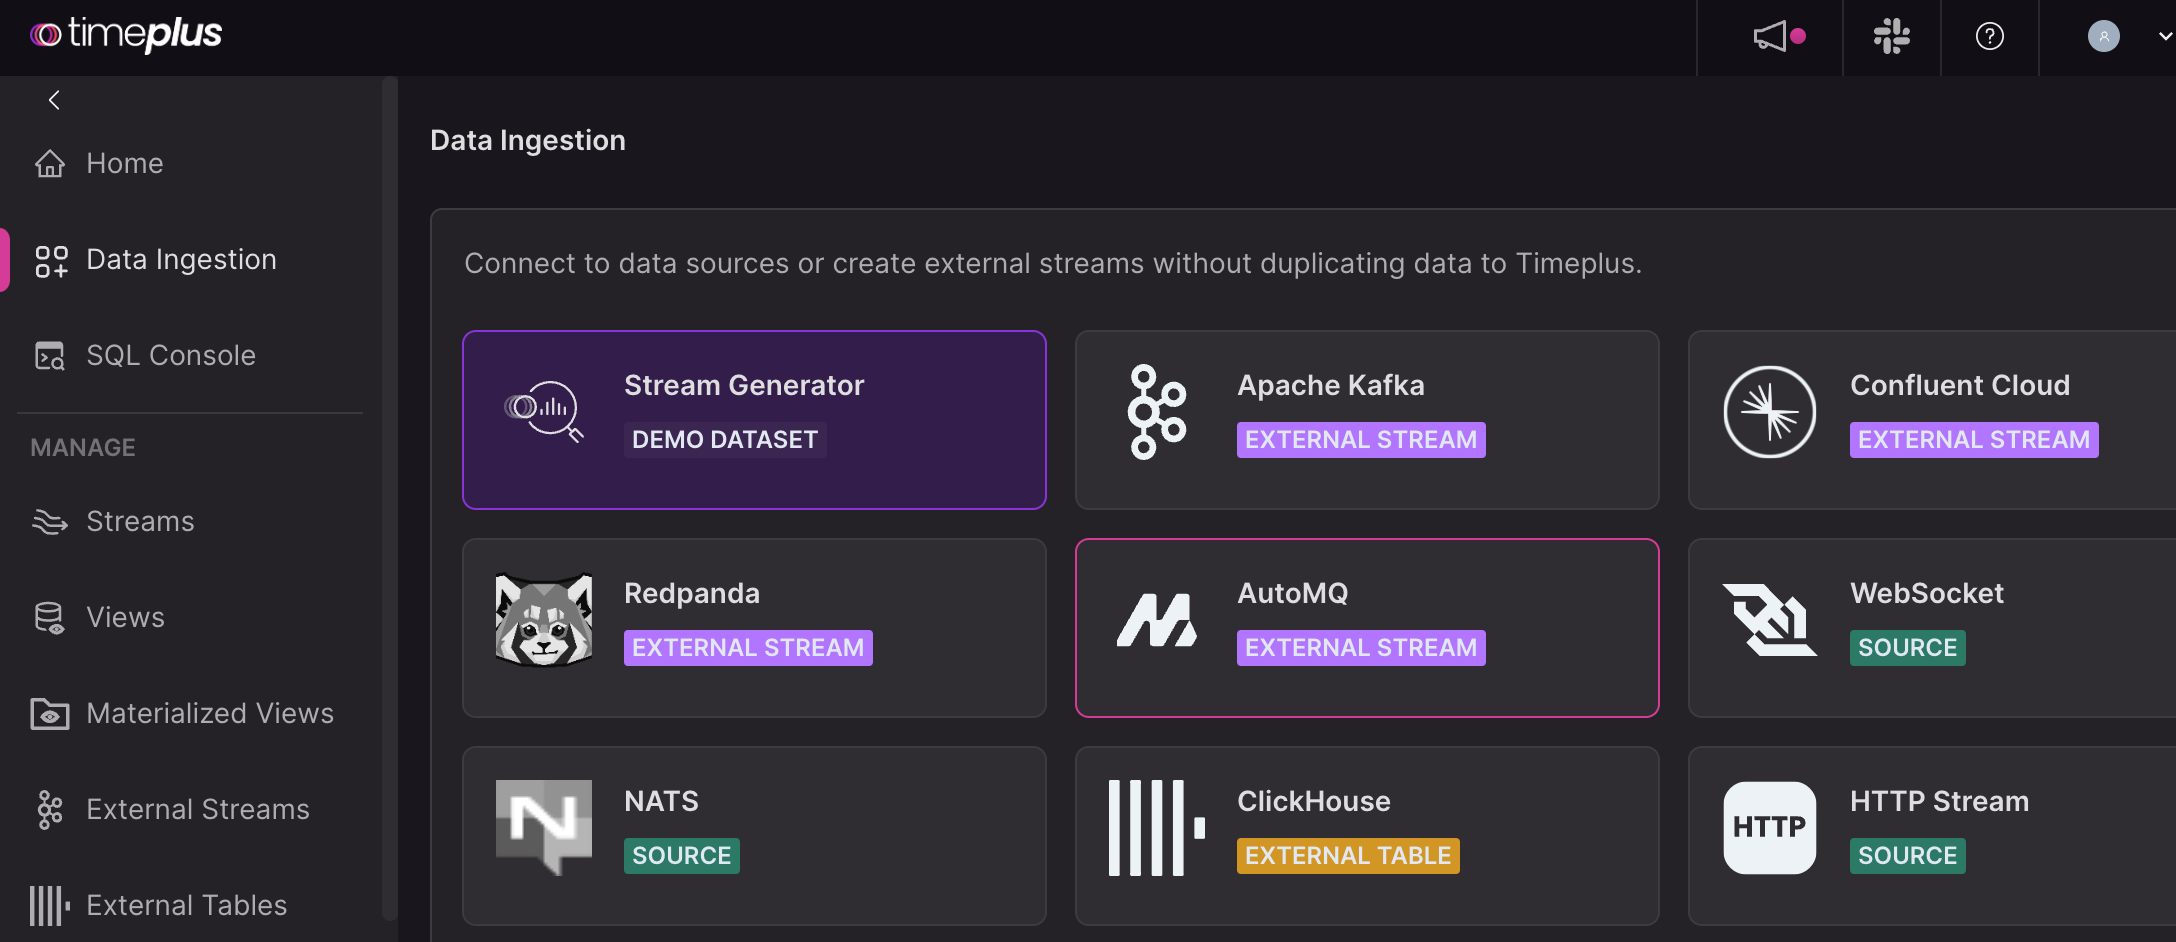
Access the web console of Timeplus Enterprise and go the "Data Collection" page. Click on the AutoMQ tile.
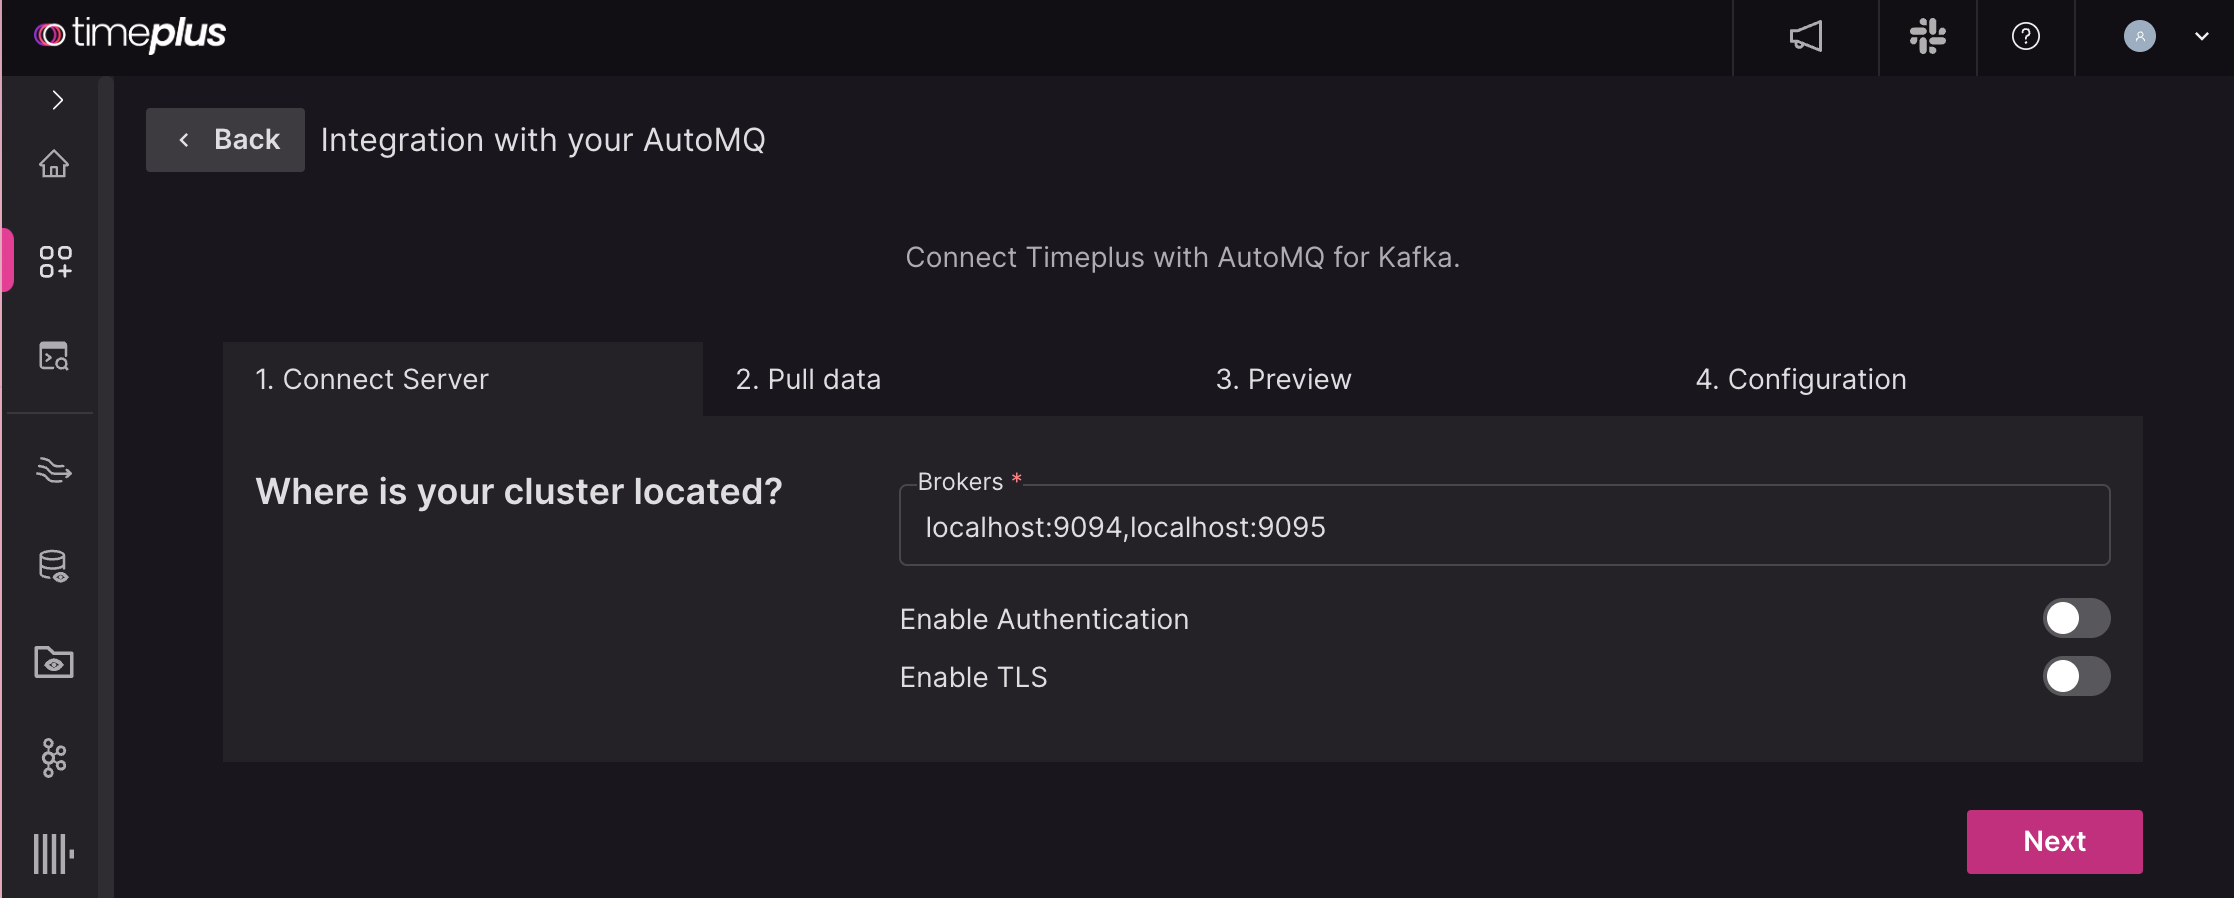
Set the broker(s) for AutoMQ. For example, for standalone deployment of AutoMQ on your local host, the hosts are localhost:9094,localhost:9095. Disable authentication and TLS if needed.
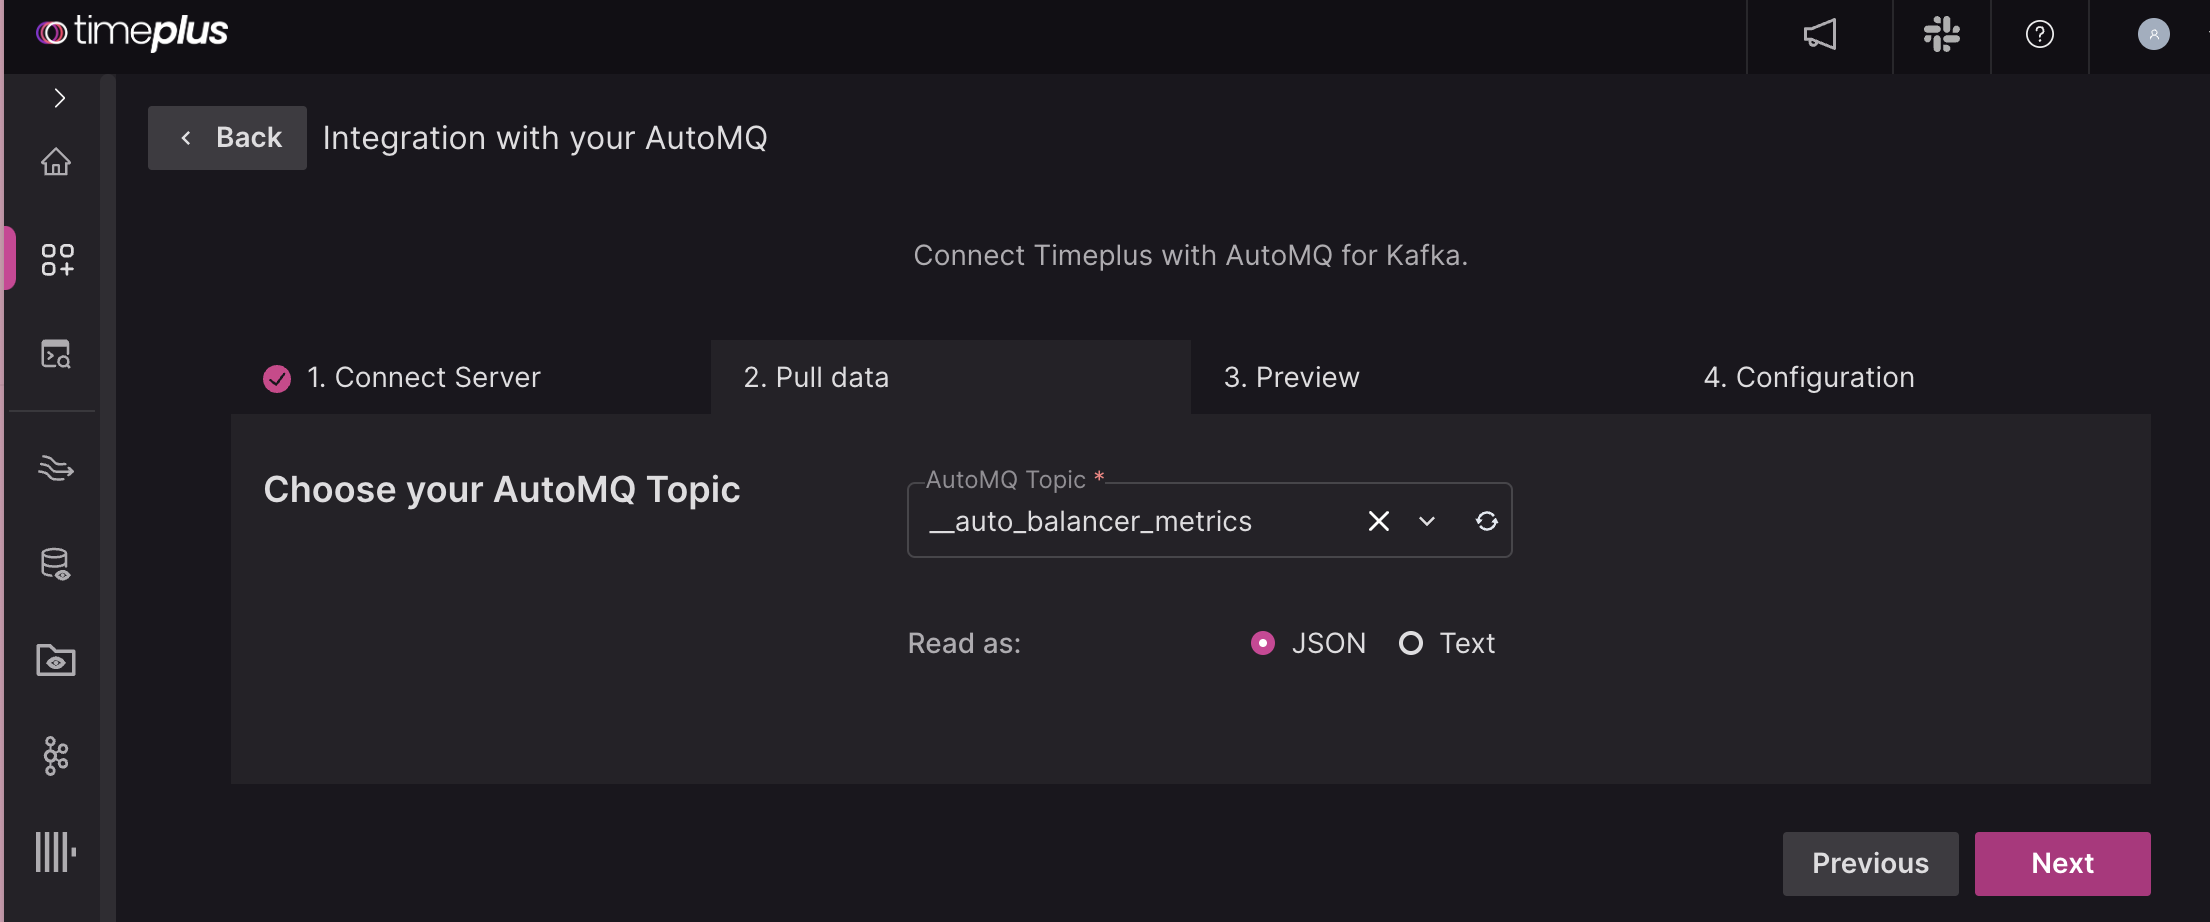
Click Next. Timeplus will connect to the server and list all topics. Choose one topic and set whether you want to read it as JSON or Text.
In the next step, confirm the schema of the Timeplus stream and specify a name. At the end of the wizard, an external stream will be created in Timeplus. You can query data or even write data to the AutoMQ topic with SQL.
See also: