Server Configuration
When you run Timeplus Enterprise in a self-hosted environment, the default settings are designed to accommodate common use cases with ease and optimal performance. The server can be configured via the web console, or via Kubernetes Helm chart, or via environment variables and local configuration files if you are running Timeplus Enterprise on bare metal.
Notes:
- For Kubernetes deployment, after the installation, you can further customize the configuration by updating the
values.yaml. Please refer to Configuration section in Kubernetes guide. Once thevalues.yamlis ready, apply this via:
export RELEASE=timeplus
helm -n $NS upgrade -f values.yaml $RELEASE timeplus/timeplus-enterprise
- For bare metal deployment, you can edit the configuration files in the
conffolder. The configuration files are in YAML format. After editing the configuration files, you need to restart the Timeplus Enterprise to apply the changes. If it's a multi-node cluster, you need to update the configuration files on all nodes and restart them.
Configuration Items
Timeplusd
Timeplusd is the core engine of Timeplus Enterprise. It reads configurations from the configuration file (by default conf/timeplusd.yaml) and environment variables. Some of the key configurations are listed below. You can review the full list of configurations in the configuration file.
max_threads
Type: uint64
Default: 0, which means the number of threads for request execution is equal to the number of CPU cores.
http_port
Type: uint16
Default: 3218
The port for HTTP API, which is used by JDBC/ODBC drivers and low level timeplusd REST API.
tcp_port
Type: uint16
Default: 8463
The port for native TCP API, which is used for communication between Timeplusd nodes.
data.datastore.log
There are several configurations for the logstore. The default values listed below are the default values that are hardcoded inside the binary file. The actual default value may be different depends on your deployment (bare-metal or Kubernetes)
data:
  datastore:
    log:
      preallocate: true
      max_entry_size: 10485760
      segment_size: 2147483648
      retention_ms: 86400000
      index_interval_bytes: 1048576
      index_interval_entries: 1000
      flush_interval_ms: 120000
      ..
preallocate
Type: bool
Default: true
Whether to preallocate disk space for log files. This can improve the performance of log writing but may consume more disk space, especially for large number of small streams.
max_entry_size
Type: uint64
Default: 10485760 (10MB)
Maximum size of a single log entry. Increase this value if you have large log entries and encounter DB::Exception: TOO_LARGE_RECORD error.
segment_size
Type: uint64
Default: 2147483648 (2GB)
Size of a log segment file.
retention_ms
Type: uint64
Default: 86400000 (1 day)
Maximum time to keep the logstore in milliseconds.
index_interval_bytes
Type: uint64
Default: 1048576 (1 MB)
Bytes between two index entries in the logstore. Affect the search performance and index size.
index_interval_entries
Type: uint64
Default: 1000
Number of entries between two index entries in the logstore. Affect the search performance and index size.
flush_interval_ms
Type: int64
Default: 120000 (2 minutes)
Maximum time to wait before flushing the logstore to disk.
hard_state_ckpt_log_size
Type: uint64
Default: 1048576 (1 MB)
Size of the hard state checkpoint log in Raft consensus.
leader_epoch_index_log_size
Type: uint64
Default: 8388608 (8 MB)
Size of the leader epoch index log in replication.
cache_max_cached_entries_per_shard
Type: uint64
Default: 100
Maximum number of cached entries per shard in the logstore cache. Affects memory usage and read performance.
cache_max_cached_bytes_per_shard
Type: uint64
Default: 4194304
Maximum number of cached bytes per shard in the logstore cache. Affects memory usage and read performance.
metadata.metastore
metadata:
  metastore:
    storage_path: ./metadata
    ..
storage_path
Type: string
Default: ./metadata
Path to store the metadata.
log_storage_path
Type: string
Default: ./metastore_log
Path to store the log of the metadata operation log.
snapshot_storage_path
Type: string
Default: ./metastore_snapshot
Path to store the snapshots of the metadata.
max_concurrent_queries
Type: uint64
Default: 100
Maximum number of concurrent queries that Timeplusd can handle. Increase this value if you encounter TOO_MANY_SIMULTANEOUS_QUERIES error.
max_concurrent_insert_queries
Type: uint64
Default: 100
Maximum number of concurrent INSERT queries that Timeplusd can handle. Increase this value if you encounter TOO_MANY_SIMULTANEOUS_QUERIES error.
max_concurrent_select_queries
Type: uint64
Default: 100
Maximum number of concurrent SELECT queries that Timeplusd can handle. Increase this value if you encounter TOO_MANY_SIMULTANEOUS_QUERIES error.
settings.global
settings:
  global:
    max_block_size: 65409
    max_insert_threads: 8
    ..
max_block_size
Type: uint64
Default: 65409
Maximum block size for query processing. Affects memory usage and performance.
Configurable via query setting or YAML configuration.
max_insert_block_size
Type: uint64
Default: 65409
Maximum block size for INSERT operations. Adjust this value if you encounter TOO_LARGE_RECORD error.
Can be configured through query settings or YAML configuration.
Example:
INSERT INTO device_metrics
SELECT *, _tp_sn FROM table(aggr_metrics)
SETTINGS max_insert_block_bytes=4096000, max_insert_threads=8;
javascript_max_memory_bytes
Type: uint64
Default: 209715200 (200MB)
Maximum memory usage for JavaScript UDF execution. Adjust this value if you encounter UDF_MEMORY_THRESHOLD_EXCEEDED error. Affects memory usage and performance.
Can be configured through query settings or YAML configuration.
Example:
ALTER VIEW hop_mv MODIFY QUERY SETTING javascript_max_memory_bytes=10485760000;
Or apply settings directly in the query:
SELECT * FROM udf_to_aggr_metrics(device_metrics)
SETTINGS javascript_max_memory_bytes=10485760000;
force_drop_big_stream
Type: bool
Default: false
Whether to force drop a stream with large data. Use this setting when you encounter STREAM_SIZE_THRESHOLD_EXCEEDED error.
Can only be configured through query settings.
Example:
DROP STREAM device_metrics SETTINGS force_drop_big_stream=true;
join_max_buffered_bytes
Type: uint64
Default: 524288000 (500MB)
Maximum size of the buffer for streaming join operations. Affects memory usage and performance.
Can only be configured through query settings.
Example:
ALTER VIEW hop_mv MODIFY QUERY SETTING join_max_buffered_bytes=8589934592;
Or apply settings directly in the join query:
SELECT * FROM tableA
LEFT JOIN tableB ON tableA.id=tableB.id
SETTINGS join_max_buffered_bytes=8589934592;
logger
logger:
  count: 10
  errorlog: ../logs/timeplusd-server.err.log
  level: information
  log: ../logs/timeplusd-server.log
  size: 1000M
level
Type: string
Default: information
Log level for Timeplusd. Possible values are none, fatal, critical, error, warning, notice, information, debug, trace.
Timeplus Appserver
Timeplus Appserver reads configurations from the configuration file (.yaml) and environment variables. The default values listed below are the default values that are hardcoded inside the binary file. The actual default value may be different depends on your deployment (bare-metal or Kubernetes)
# IP interface and port the server should bind to
server-addr: "0.0.0.0"
server-port: 8000

# IP interface and port the server should bind to for serving internal APIs, by default it uses the preferred outbound IP address on the machine. For best practice use an internal IP and never use 0.0.0.0"
# Timeplus Connector talks to Timeplus Appserver via internal endpoint. Make sure you also update `NEUTRON_ADDRESS` from Timeplus Connector side
server-internal-addr:
server-internal-port: 8081

# To enable TLS, please refer to the Enable HTTPS section
tls: false

# Level of log, support panic|fatal|error|warn|info|debug|trace
log-level: info

# The address of the Timeplus connector endpoint
connector-addr: "orbit.tp-tenant-{{ .workspace_id }}:4196"

# The URL the console app, leave it empty to disable web console. An example configure is `http://localhost:4000`
console-app-url:
# The URL the onboarding app, leave it empty to disable onboarding. An example configure is `http://localhost:4000`
onboarding-app-url:

# The maximum interval (in millisecond) between two flushes to the query SSE channel.
query-buffer-interval: 100

# The maximum number of rows buffered in memory before flushing to the query SSE channel.
query-buffer-max: 100

# Whether to enable authentication
enable-authentication: false

# Whether to enable authorization
enable-authorization: false
Timeplus Web
Timeplus Web reads configurations from the environment variables. The default values listed below are the default values that are hardcoded inside the binary file. The actual default value may be different depends on your deployment (bare-metal or Kubernetes)
# Hostname and port that Timeplus Web bind to.
# Timeplus Appserver talks to Timeplus Web in order to serve web console. Please make sure you update `console-app-url` and `onboarding-app-url` from Timeplus Appserver side.
export TIMEPLUS_WEB_HOST="0.0.0.0"
export TIMEPLUS_WEB_PORT=4000
Timeplus Connector
Timeplus Connector reads configurations from the environment variables. The default values listed below are the default values that are hardcoded inside the binary file. The actual default value may be different depends on your deployment (bare-metal or Kubernetes)
# Address of Timeplus Appserver's internal endpoint
export NEUTRON_ADDRESS="localhost:8081"

# Hostname and port that Timeplus Connector server bind to. Notice that Timeplus Connector starts a Redpanda Connect server that listen to the same host but port TIMEPLUS_CONNECTOR_PORT-1 (by default 0.0.0.0:4195). However, this port is not supposed to be called by anyone else.
# Timeplus Appserver submits sources and sinks to Timeplus Connector via this endpoint. Make sure you also update `connector-addr` from Timeplus Appserver side
export TIMEPLUS_CONNECTOR_HOST="0.0.0.0"
export TIMEPLUS_CONNECTOR_PORT=4196
User Management
For single node deployments, when you launch the web console of Timeplus Enterprise for the first time, you will be prompted to create a new account with password.
For multi-node clusters deployed via Helm Chart, please set the system account and user accounts in the values.yaml. The system account is created automatically for internal components to communicate to each other. The username is proton, with the password defaulting to timeplusd@t+.
To edit or add new users, you can use the timeplus user CLI or container, which supports bare metal and Kubernetes, both single node and multi-node.
Secret Management
Starting from Timeplus Enterprise 2.7, you can integrate with HashiCorp Vault for secret management. You can store the secrets of Kafka External Stream in Vault and specify them in the config_file setting. For bare metal deployments, you can also use this setting when all nodes have access to the same file in the same path.
License Management
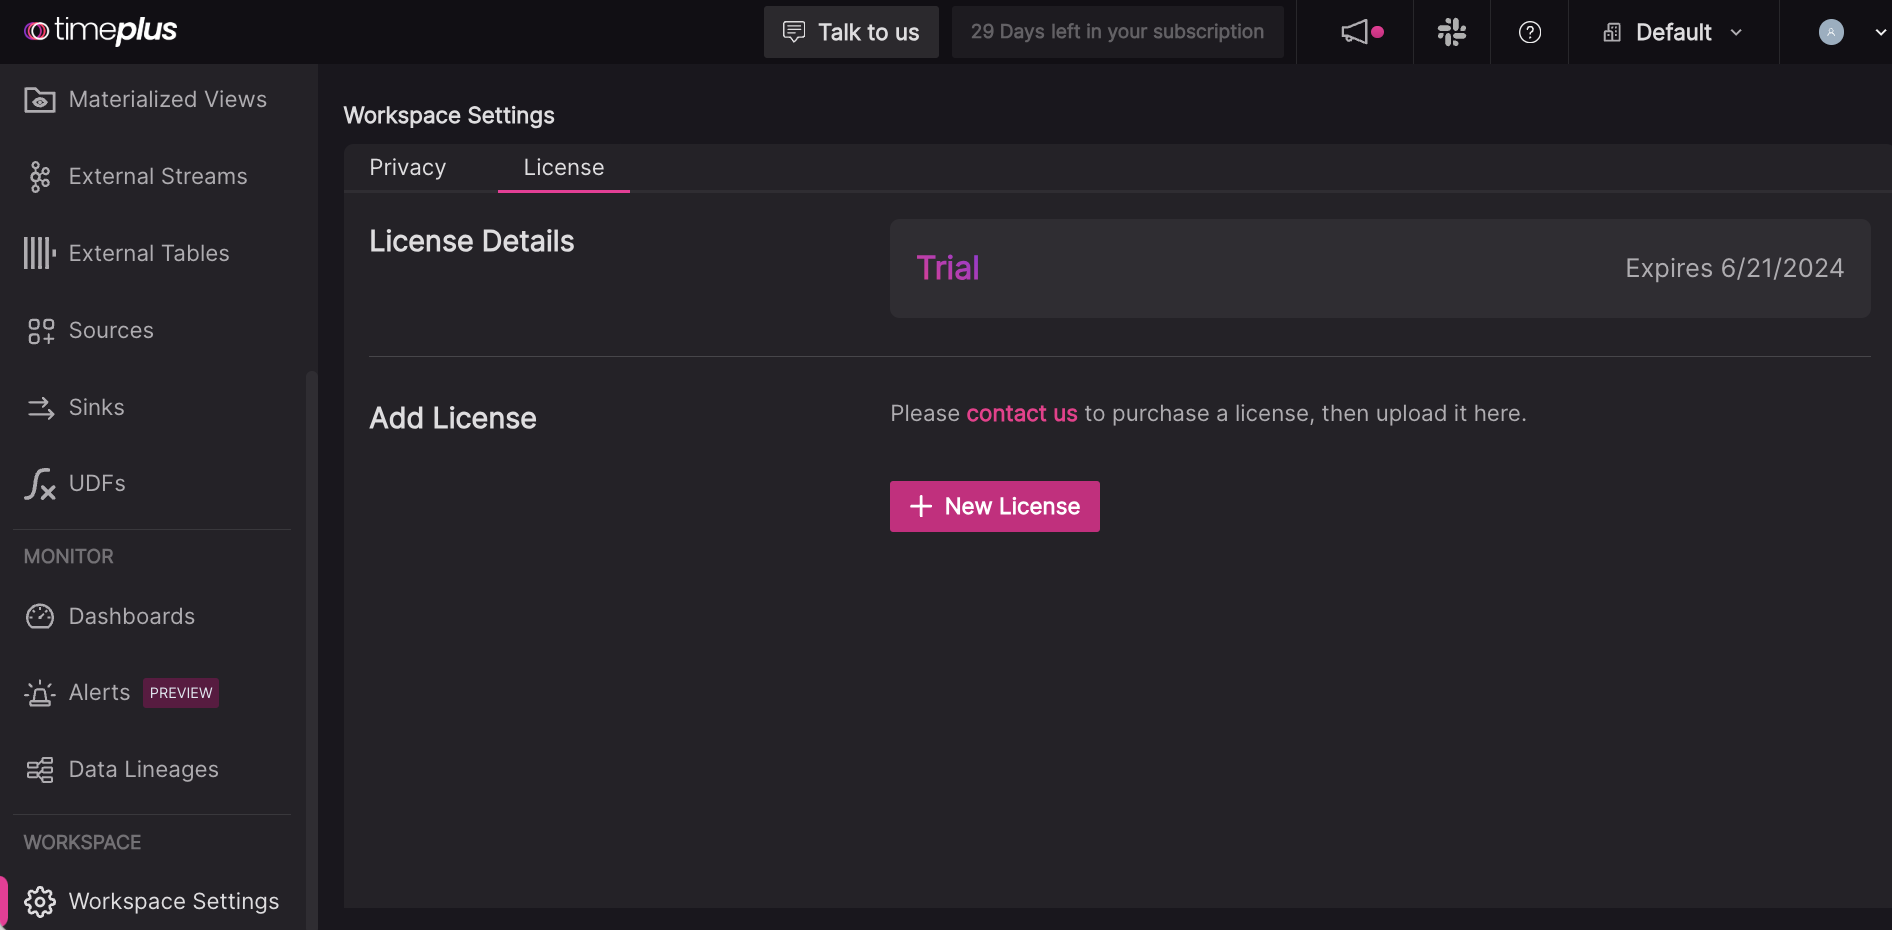
Your 30-day free trial starts when you start Timeplus Enterprise and access the web console for the first time. When your free trial ends, Timeplus Enterprise will stop working.
You can contact us to purchase a license, then upload it in the web console. Click Workspace Settings in the left navigation menu and choose the License tab. Copy and paste the license file or upload the file.
You can also import a license by running the following command when Timeplus Enterprise is running.
./bin/timeplus license import -h license_key -h license_filepath
Starting from Timeplus Enterprise 2.7, you can also configure license_key_path and license_file_path in the server/config.yaml file. This is useful for headless deployment without web console interaction.
Enable HTTPS
By default, Timeplus Enterprise web console is running on 8000, on a plain HTTP port. If you need to turn on self-signed or CA-signed HTTPS, you can edit conf/timeplus_appserver.yaml as follows:
server-port: 8443
tls: true
cert: ../cert/ca.crt
key: ../cert/ca.key
To create a self-signed certificate, follow this doc and put the certificate files in the timeplus/cert folder.
Stop and restart Timeplus after the configuration change.
Run as a system service
To run Timeplus Enterprise as a service, you need a OS that supports systemd.
To install it as a systemd service, run sudo ./bin/timeplus service enable -u user -g user_group.
Note:
- Root privilege is required to enable the service
- Use the same user/user_group for uncompressing the Timeplus installation package
- This command will add a service into
/etc/systemd/system/timeplus.service. When it is successfully installed, it will enable and start the service. Later on you can usesystemctlcommand to manage the service.